Immediate Fix: Force Restart and Network Reset
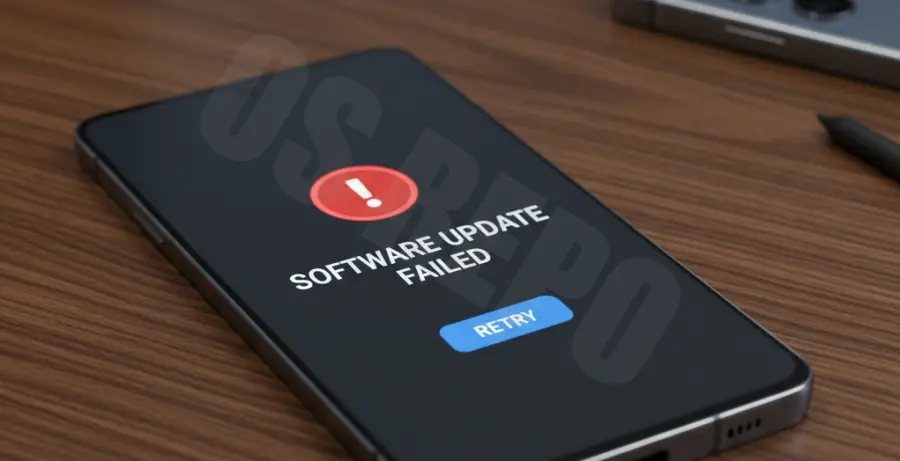
If your Galaxy S25 Ultra displays a “Network Connection Error” during a software update, the fastest solution is a forced system restart. This clears temporary glitches in the wireless stack.
Hold the Volume Down and Power buttons simultaneously for 15 seconds until the Samsung logo appears. Once the device reboots, attempt the update again over a stable Wi-Fi connection.
| Action | Outcome |
|---|---|
| Reset Network Settings | Clears Wi-Fi, Bluetooth, and Mobile Data configurations to default. |
| Clear Update Cache | Deletes corrupted partial download files from the system. |
| Toggle Airplane Mode | Forces a fresh handshake with the cellular tower or router. |
If the error persists, you can use the Android Debug Bridge (ADB) to clear the system update service cache manually if you have a PC connected.
# Clear the Samsung Software Update (SOAgent) cache
adb shell pm clear com.sec.android.soagent
adb shell pm clear com.wssyncmldm
Technical Explanation: Why Connection Errors Occur
The Galaxy S25 Ultra uses a secure handshake protocol to verify update packages with Samsung’s OTA (Over-The-Air) servers. A network connection error usually indicates a timeout during this verification phase.
This failure is frequently caused by DNS instability. If your local network cannot resolve the Samsung update server address (usually msecnd.net or samsung.com), the device aborts the download to prevent file corruption.
Congestion on the 5GHz Wi-Fi band can also cause packet loss. When the S25 Ultra detects missing data fragments, it triggers a “Failed” status to ensure the integrity of the Android OS build.
Alternative Methods for Updating Your S25 Ultra
Update via Samsung Smart Switch
If the wireless update continues to fail, use the Smart Switch desktop application. This method uses a wired USB-C connection, which bypasses Wi-Fi instability and provides a more reliable data pipeline.
Connect your S25 Ultra to your computer, open Smart Switch, and click the ‘Update’ button that appears next to your device info. The software will download the full firmware image and flash it securely.
Manual DNS Configuration
Try switching your Wi-Fi settings to use a public DNS. Go to Settings > Connections > Wi-Fi > [Your Network] > View More > IP Settings > Static. Change DNS 1 to 8.8.8.8 and DNS 2 to 8.8.4.4.
Using Google’s DNS often bypasses local ISP routing issues that prevent the S25 Ultra from reaching the update servers effectively.