Symptoms & Diagnosis
Enabling the Extreme Memory Profile (XMP) or DOCP is essential for reaching advertised RAM speeds. However, many users experience a significant increase in boot times immediately after toggling this setting.
Common symptoms include the PC “hanging” on the motherboard splash screen for 30 to 60 seconds. You might also notice the diagnostic LEDs on your motherboard cycling through CPU and DRAM checks multiple times before the system finally hands off control to the OS.
This delay is usually caused by “Memory Training.” Every time the system boots, the BIOS tests the RAM timings to ensure stability at higher XMP frequencies. On newer platforms, specifically DDR5 and AM5, this process can be exceptionally slow.
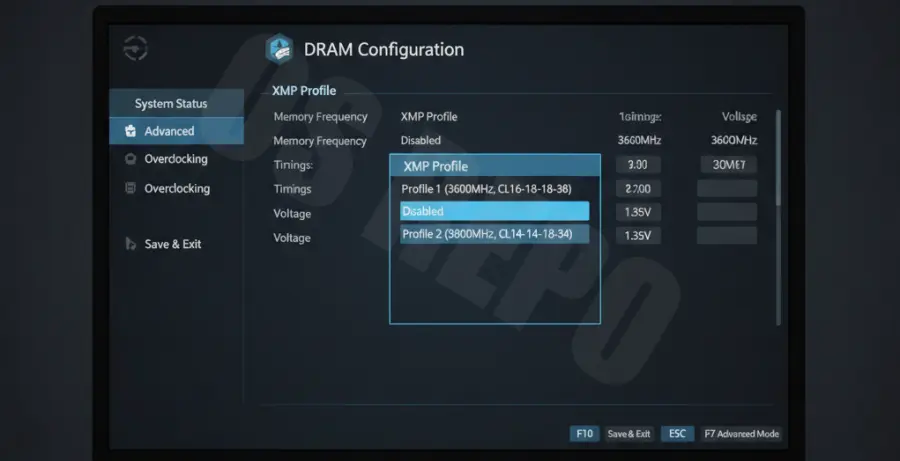
Troubleshooting Guide
The most effective way to resolve slow boots without sacrificing performance is to enable specific BIOS features designed to skip redundant memory checks. Follow these steps to optimize your startup sequence.
1. Enable Memory Context Restore
In most modern BIOS versions (especially ASUS, MSI, and Gigabyte), there is a setting called Memory Context Restore. When enabled, the motherboard remembers the successful memory training parameters from the previous boot, allowing it to skip the training phase.
2. Enable Power Down Mode
For DDR5 systems, Memory Context Restore often requires Power Down Mode to be enabled to prevent system instability or Blue Screens (BSOD). Ensure both settings are toggled to “Enabled” simultaneously.
| Setting Name | Recommended Value | Impact on Boot Time |
|---|---|---|
| XMP / DOCP Profile | Enabled (Profile 1) | Increases Performance |
| Memory Context Restore | Enabled | Reduces Boot Time by 50-70% |
| Power Down Mode | Enabled | Ensures Stability with MCR |
| Fast Boot | Enabled | Skips USB/SATA initialization |
3. Verify RAM via Command Line
After applying these fixes, you should verify that your RAM is still running at the correct XMP speeds within your operating system environment.
# Check memory speed and configuration in Linux
sudo dmidecode --type memory | grep -i speed

# Check current memory status on Windows via PowerShell
wmic memorychip get speed, devicelocator, capacity
Prevention
To prevent future slow boot issues while using XMP, always keep your BIOS firmware updated. Motherboard manufacturers frequently release AGESA or microcode updates specifically aimed at improving memory training times.
Avoid mixing different RAM kits, even if they have the same frequency and timings. Mismatched modules force the BIOS to work harder during the training phase to find a stable middle ground, leading to longer POST delays.
If you still encounter issues, try manual sub-timing entry. By manually inputting the primary timings listed on your RAM’s sticker rather than relying on the “Auto” XMP profile, you can sometimes bypass the motherboard’s need to re-verify settings on every cold boot.