Immediate Fix
The fastest way to resolve the “Slack microphone permission denied” error is to toggle the site-level permissions in your browser or the privacy settings on your operating system.
If you are using Slack in a web browser, click the lock icon or settings icon located on the left side of the URL address bar. Ensure the “Microphone” toggle is set to Allow. Refresh the page immediately after making this change.
For desktop app users on Windows, go to Settings > Privacy & Security > Microphone. Ensure that “Microphone access” is turned on and that the toggle for “Let desktop apps access your microphone” is specifically enabled for Slack.
On macOS, navigate to System Settings > Privacy & Security > Microphone. Find Slack in the list of applications and ensure the checkbox next to it is selected. You may need to restart Slack for these changes to take effect.
Technical Explanation
Microphone access is governed by a multi-layered security model. Modern operating systems use “sandboxing” to prevent applications from accessing hardware without explicit user consent. When Slack requests audio access, it triggers a call to the system’s media API.
If the OS-level permission is revoked, the browser or desktop shell receives a PermissionDeniedError. This often happens after an OS update or if security software resets your privacy preferences to a “Hardened” state.
| Environment | Common Cause | Resolution Path |
|---|---|---|
| Web Browser | Site-specific block | Reset Site Permissions |
| Windows App | Global Privacy Toggle | Enable Desktop App Access |
| macOS App | TCC Database Reset | Privacy & Security Settings |
In some cases, the local configuration files for Slack can become corrupted, leading to persistent permission failures. You can force-clear the Slack cache and reset hardware preferences using the terminal:
# For Linux/macOS: Clearing Slack application cache
rm -rf ~/Library/Application\ Support/Slack/Cache/*
rm -rf ~/Library/Application\ Support/Slack/Service\ Worker/CacheStorage/*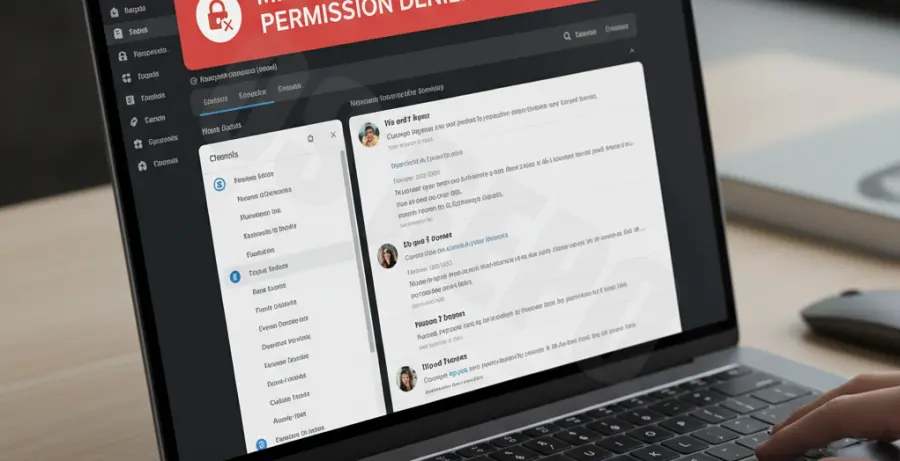
Alternative Methods
If the standard permission toggles do not work, try resetting the Slack application state. Within the Slack desktop app, click on Help > Troubleshooting > Clear Cache and Restart. This resets the internal Chromium engine used by Slack without deleting your login data.
Check Hardware Conflicts
Ensure that no other application, such as Zoom or Microsoft Teams, has “Exclusive Mode” control over your microphone. This can be checked in the Sound Control Panel on Windows under Properties > Advanced for your specific input device.
Browser-Specific Resets
If you are on Chrome or Edge, navigate to chrome://settings/content/microphone. Search for “slack.com” in the list of blocked sites and remove it. Once removed, Slack will prompt you for permission again the next time you join a huddle or start a call.
Finally, verify that your microphone is correctly selected within Slack’s internal settings. Go to Preferences > Audio & Video and use the “Test” button to ensure the input level is registering once permissions are granted.